A captivating sales page can help to convert visitors into delighted customers. It’s an excellent opportunity to showcase your products and services to potential customers and compel them to make a purchase.
However, if you lack WordPress customization or have no design experience, creating a WordPress sales page can be a challenging task.
Read the blog till the end to discover the secrets to crafting a high-converting sales page in WordPress and watch your business thrive!
Before we proceed further, let’s begin by gaining a better understanding of what a sales page entails.
What is WordPress sales page and why do you need it?
Regardless of your industry, the ultimate goal of the WordPress sales page remains consistent—to entice website visitors and convert them into paying customers.
Sales pages are similar to landing pages that incorporate some strategic elements to attracting and converting site visitors effectively.
When you are learning about how to create a sales page in WordPress, it’s essential to recognize and appreciate the importance of every element involved in its construction.
- Headline: Create an attention-grabbing headline that immediately captures visitors’ interest and compels them to explore your site further.
- Copy (content): Craft convincing and concise sales copy by utilizing subheadings and bullet points which will further help to enhance readability and impact.
- Visuals: Use engaging images to break up textual content, helping to showcase your product’s capabilities and creating visual appeal.
- Call-to-Action (CTA) Buttons: Place multiple CTA buttons Strategically throughout the page. It will encourage users to take action when they are convinced.
- Video: Include high-quality videos to effectively demonstrate your product’s features. It is an amazing alternative to lengthy textual explanations.
- Social Proof: Incorporate genuine customer reviews and testimonials to build trust and credibility with potential buyers.
How to create a sales page in WordPress?
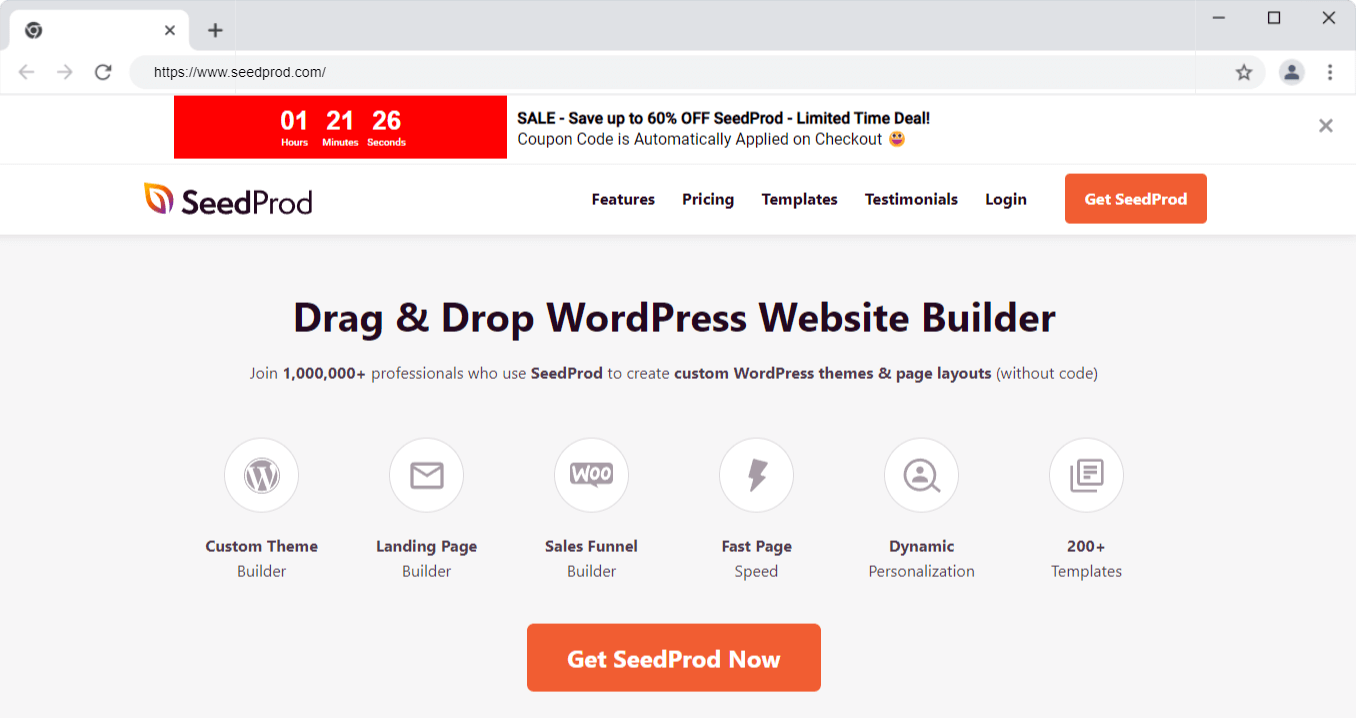
 You can use SeedProd, to effortlessly create WordPress Sales Page. It is the best landing page builder for businesses, bloggers, and website owners.
 With pre-built templates for high-converting landing pages, including sales, coming soon, maintenance, and thank you pages, you can create compelling web pages instantly, even without any development skills.
Step-1. Install and activate SeedPord
Installing and Activating SeedProd is the first step in creating your sales page. Begin by acquiring the SeedProd Pro plugin and activating it.
- Once the activation is done, head to SeedProd » Settings on your WordPress dashboard and activate the Pro version using your license key.
- Next, go to SeedProd » Landing Pages to access the landing page dashboard.
Here, you’ll find various landing page types with pre-built functionality and design templates. For a sales landing page, opt to create a custom landing page instead of using any of these special templates.
- Scroll down and click the “Add New Landing Page” button to kickstart your sales page creation process.
Step-2. Building a new sales landing page in WordPress
Once you click the “Add New Landing Page” button, you’ll be presented with SeedProd’s library of responsive and professionally designed landing page templates.
When delving into the process of how to create a sales page in WordPress, these templates serve as a starting point for your sales page creation.
You have the freedom to customize every aspect of the page later on. Browse through the template options. In this guide, we’ll choose the “Masterclass Sales Page” template. Click on the selected template to proceed.
Step-3. Customize your chosen sales page template
Customize your landing page using drag-and-drop content blocks. Create a fully customized header and add custom elements, like a YouTube video, to convince and convert your visitors effectively.
Add a section with a brief product/service description. Head to the Sections tab in the visual builder, select a pre-built template under the Hero section and import it with a single click.
Customize the hero section by choosing a different image, modifying the headline and description, and adding a call-to-action button to nudge visitors to make a purchase.
For social proof, select the Testimonial heading from the Sections tab and choose a design you like. It’s that simple!
Step-4. Configure your WordPress sales page setting
From there, select your preferred email marketing provider to start collecting leads on your website.
Next, click on the Page Settings tab at the top of your screen. Here, you have the option to add an SEO plugin and a Google Analytics plugin to enhance the performance of your sales page.
Additionally, you can set up custom tracking codes, like Facebook Pixel or Pinterest Pixel, to monitor the effectiveness of your advertisements.
Step-5. Publish your sales page
Now, it’s time to take your design live and publish your sales page.
Click the dropdown arrow besides the save button and choose “Publish.”
After publishing, click the “See Live Page” button to preview how your sales page appears to visitors.
Congratulations! Your very first sales page is now live and ready to make an impact.


