
Website loading time is crucial. Yes…website speed affects how users feel about the site and how well it is displayed in search engine results. So, in the digital landscape, when it comes to speed every second counts.
Cloudflare is recognized as one of the top WordPress CDN services in the market. It not only improves the overall loading speed of your website but also adds an array of powerful security features and performance benefits.
Many entry-level users find it difficult to utilize Cloudflare CDN due to their perception that it is challenging to configure and implement.
In this step-by-step, we’ll show you how to set up Cloudflare in WordPress to make your website faster.
Let’s quickly understand more about CDN and Cloudflare-
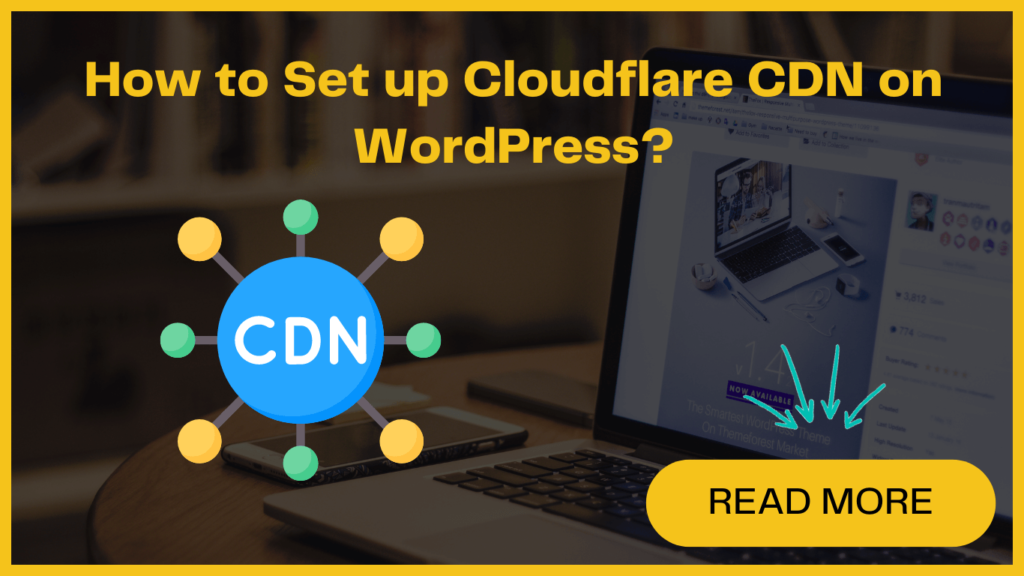
What is CDN ?
A Content Delivery Network (CDN) consists of a network of servers that are geographically distributed. It helps make websites faster for people all over the world.
Generally, when you visit a website, you get the information from one main server. But with a CDN, there are many servers in different locations that can provide you with the information.
When you request something from a website, you’ll get the results from the server closest to you. This makes it faster because the information doesn’t have to travel as far.
What is Cloudflare CDN ?
Cloudflare is one of the most popular CDN providers that offer this service for free on the internet. This means that website owners can use Cloudflare’s CDN without having to pay any money. It’s a great option for making websites faster and improving the user experience.
It has servers all around the world that make websites faster by storing and delivering content quickly. At the same time, it also keeps websites safe by blocking any bad or suspicious traffic.
They offer basic features free of cost for small businesses and blogs. But if you want to use all of Cloudflare’s advanced features, you might need to pay some money. It’s the best alternative for small businesses that want to make their websites faster and safer.
How does Cloudflare CDN offer support to your WordPress site?
Cloudflare offers many benefits to WordPress site owners such as-
- Cloudflare offers free CDN services for website owners
- Optimizes speed and security for WordPress sites
- Reduces distance between visitor’s device and Cloudflare servers for faster loading times
- Enhances website performance with features like image resizing and auto minification
- Protects data privacy by hiding nameservers on domain registration lookup tools
- Provides web analytics to track and detect threats for enhanced security
Setting up Cloudflare CDN on WordPress
Setting up Cloudflare CDN on a WordPress site is straightforward. You can follow the below-mentioned steps-
1. Setting Up Your Cloudflare Account.
- Visit the Cloudflare website and click on “Sign Up” to create a new account.
- Make sure your email address is right before proceeding to the next step.
2. Adding Your Domain Name to Cloudflare
To do so, you need to log in to your Cloudflare account and follow these steps:
- Go to the Cloudflare dashboard and click on “Add site” at the top right side of your screen.
- Now you have to enter your WordPress site’s URL and click on “Add site“.
- Choose a suitable plan for your needs (free, pro, business, or enterprise).
Pro ($20/month) comes with optimization features and cache analytics, Business ($200/month) with advanced security features and dedicated customer support, and Enterprise with comprehensive caching, security, and optimization (contact customer service for Enterprise pricing).
3. Reviewing and Configuring DNS Records
- Once you have added the WordPress site, Cloudflare will scan for DNS records automatically and then it will add them to your account.
- Review the DNS records and ensure that your domain is pointed correctly.
- Enable Cloudflare for both the www and non-www versions of your site.
4. Updating Your Domain's Nameservers
Cloudflare will guide you with special instructions on changing your nameservers. If you bought your website name from Hostinger, here is how you can change the nameservers. These steps might be slightly different if you are using a different hosting provider.
- Log in to your Hostinger account.
- Go to the “Domains” section.
- Find your domain name and click on “Manage“.
- Look for the “Nameservers” section and click on “Use custom nameservers”.
- Enter the nameservers provided by Cloudflare.
- Click on “Save” or “Update” to finish changing the nameservers.
5. Configuring HTTPS Settings
- Access the SSL/TLS encryption modes on Cloudflare’s dashboard.
- Choose an appropriate mode (Flexible, Full, or Full (strict)) based on your SSL certificate setup.
- Head to SSL/TLS and click on Edge Certificates. Turn on the “Always Use HTTPS” feature to redirect HTTP requests to HTTPS.
6. Installation and Configuration of the Cloudflare WordPress Plugin
To modify Cloudflare plugin settings in your WordPress dashboard, follow these steps-
1. Obtain the Cloudflare API Key
- Access your Cloudflare account dashboard.
- Look for the API section at the bottom right corner and click “Get your API token.”
- Enter your Cloudflare account password, click “View,” and copy the Global API key.
2. Configure Cloudflare Plugin in WordPress
- Access your WordPress dashboard.
- Go to Plugins and now click on Add New. Search for the Cloudflare WordPress plugin.
- Click on “Install Now” and then “Activate” the Cloudflare plugin.
- Go to the Settings tab and click on Cloudflare and then make click on “Sign in here.”
- Now you need to enter your Cloudflare account email. Now paste the copied Global API key.
- Click “Save API Credentials” to proceed.
3. Configure Cloudflare Settings
With the Cloudflare plugin activated, you can now configure important Cloudflare settings within your WordPress dashboard.
By following these steps, you can easily install and configure the Cloudflare WordPress plugin. You can easily manage its settings directly from your WordPress dashboard.
