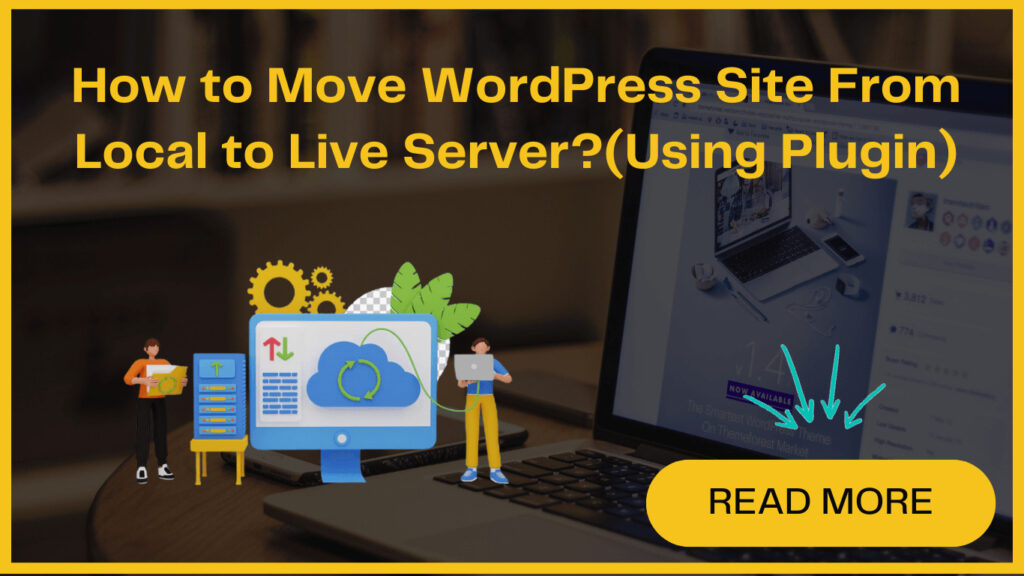

Migrating WordPress site from a local server to a live hosting service is an important step for WordPress users looking to bring their websites online. If you’ve been building and testing on a local host, the time has come to migrate to an actual web host. Don’t worry, the process is simple with just a few steps.
Pros like to work on websites locally first because it’s like a safe playground. Any mistakes or tests stay there, away from the live site. It’s a smart way to avoid problems down the road!
But now that your WordPress masterpiece is ready for its grand debut, it’s time to say goodbye to the local host and migrate to a full-fledged hosting account.
This tutorial will explain the steps to migrate the WordPress site from localhost to server. But first, let’s understand why you need to move your WordPress site to live server-
Why You Should Move WordPress Site From Local To Live Server ?
Moving your WordPress site from a local to a live server is essential. It grants accessibility to a wider audience, adds professionalism, improves performance and speed, boosts search engine visibility, and enhances security.
Many users prefer to work on their websites in a local server environment initially. This approach provides a safe testing environment away from the live site. Users can experiment freely without the risk of affecting the public-facing version.
Moreover, working locally helps users to develop and troubleshoot their websites more efficiently, leading to a smoother process for migrating local WordPress to a server. Overall, it maximizes your website’s reach, professionalism, performance, visibility, and security.
What Are the Prerequisites to Migrate local WordPress to Server ?
Before you begin, make sure you have:
- A local WordPress installation is up and running on your computer.
- To connect your domain to your web host, update the domain’s nameservers or DNS A record to match your hosting company’s settings.
- An active hosting plan that supports PHP and MySQL, preferably with one-click WordPress installation. Recommended options include WP Engine (managed hosting starting at $29/month) or affordable shared hosting from providers like Bluehost or SiteGround ($3/month range).
- SFTP access to your hosting account, along with an SFTP client like FileZilla. This will enable you to upload your WordPress files to the live server.
1. Installing and Setting Up Duplicator Plugin
Now give your backup a name and click ‘Next’. Duplicator will run tests to ensure everything is in order.
If all tests pass, click on ‘Build’ to start the process. Wait for the process to complete; it may take a few minutes. Once finished, download both the ‘Installer’ and ‘Archive’ packages to your computer.
2. Creating A Database From Your Live WordPress Website
To prepare for migrating your WordPress site from localhost to a live server, access your hosting account’s cPanel dashboard. Now navigate to the ‘Databases’ section where you can select the ‘MySQL Database Wizard’ icon.
Create a new MySQL database by providing a name and clicking ‘Create Database’. Next, set up a new user for the database by entering a username and password, then click ‘Create User’.
Add the newly created user to the database, ensuring all privileges are checked, and click ‘Make Changes’ to save. Finally, note down the database name, username, and password for use in the next step of the migration process
3. Uploading Files from Local to Live WordPress Website
To transfer files from your local server to your live WordPress website, start by connecting to your live site using an FTP client.
Once connected, confirm that the root directory of your website is empty, usually located at /home/public_html/.
If there are any WordPress files present, delete them. Then, proceed to upload the archive.zip and installer.php files from Duplicator to the empty root directory of your live site.
4. Running the Migration Script
To initiate the migration process, access the URL http://abcdef.com/installer.php in your web browser, replacing ‘abcdef.com’ with your actual domain name.
The Duplicator migration wizard will then guide you through the steps. Under the Setup section, input your MySQL host, database name, username, and password, typically using ‘localhost’ as the host.
Now, validate the settings by clicking the ‘Validate’ button before proceeding. Duplicator will import your WordPress database backup and update URLs to match your live site. Once completed, access the WordPress admin area of your live site by clicking the ‘Admin Login’ button.
After logging in, Duplicator will automatically clean up the installation files, indicating the successful migration of your WordPress site from the local server to the live server.
In our upcoming posts, we’ll share how to manually move WordPress site from local to live server. So, stay tuned for the details! For detailed guide, you can also check out our blog – comprehensive guide for site migration.
